Whether sewing by machine or hand, it is essential to end your stitches properly. If you do not secure the ends correctly, the thread could unravel, and all your hard work would be lost, especially once you have removed all the pins.
There are various ways to end your stitches; each will work best for a different type of project. Some are great for beginners, while others are more complex but will deliver a stronger hold.
Here, we will go through many ways to get the job done. So, without further ado, let’s find out how to tie off a stitch.
Table of Contents
How to Tie off a Stitch?
To tie off a stitch, there are two ways to get the job done, including by hand and by machine. Let’s look at both!
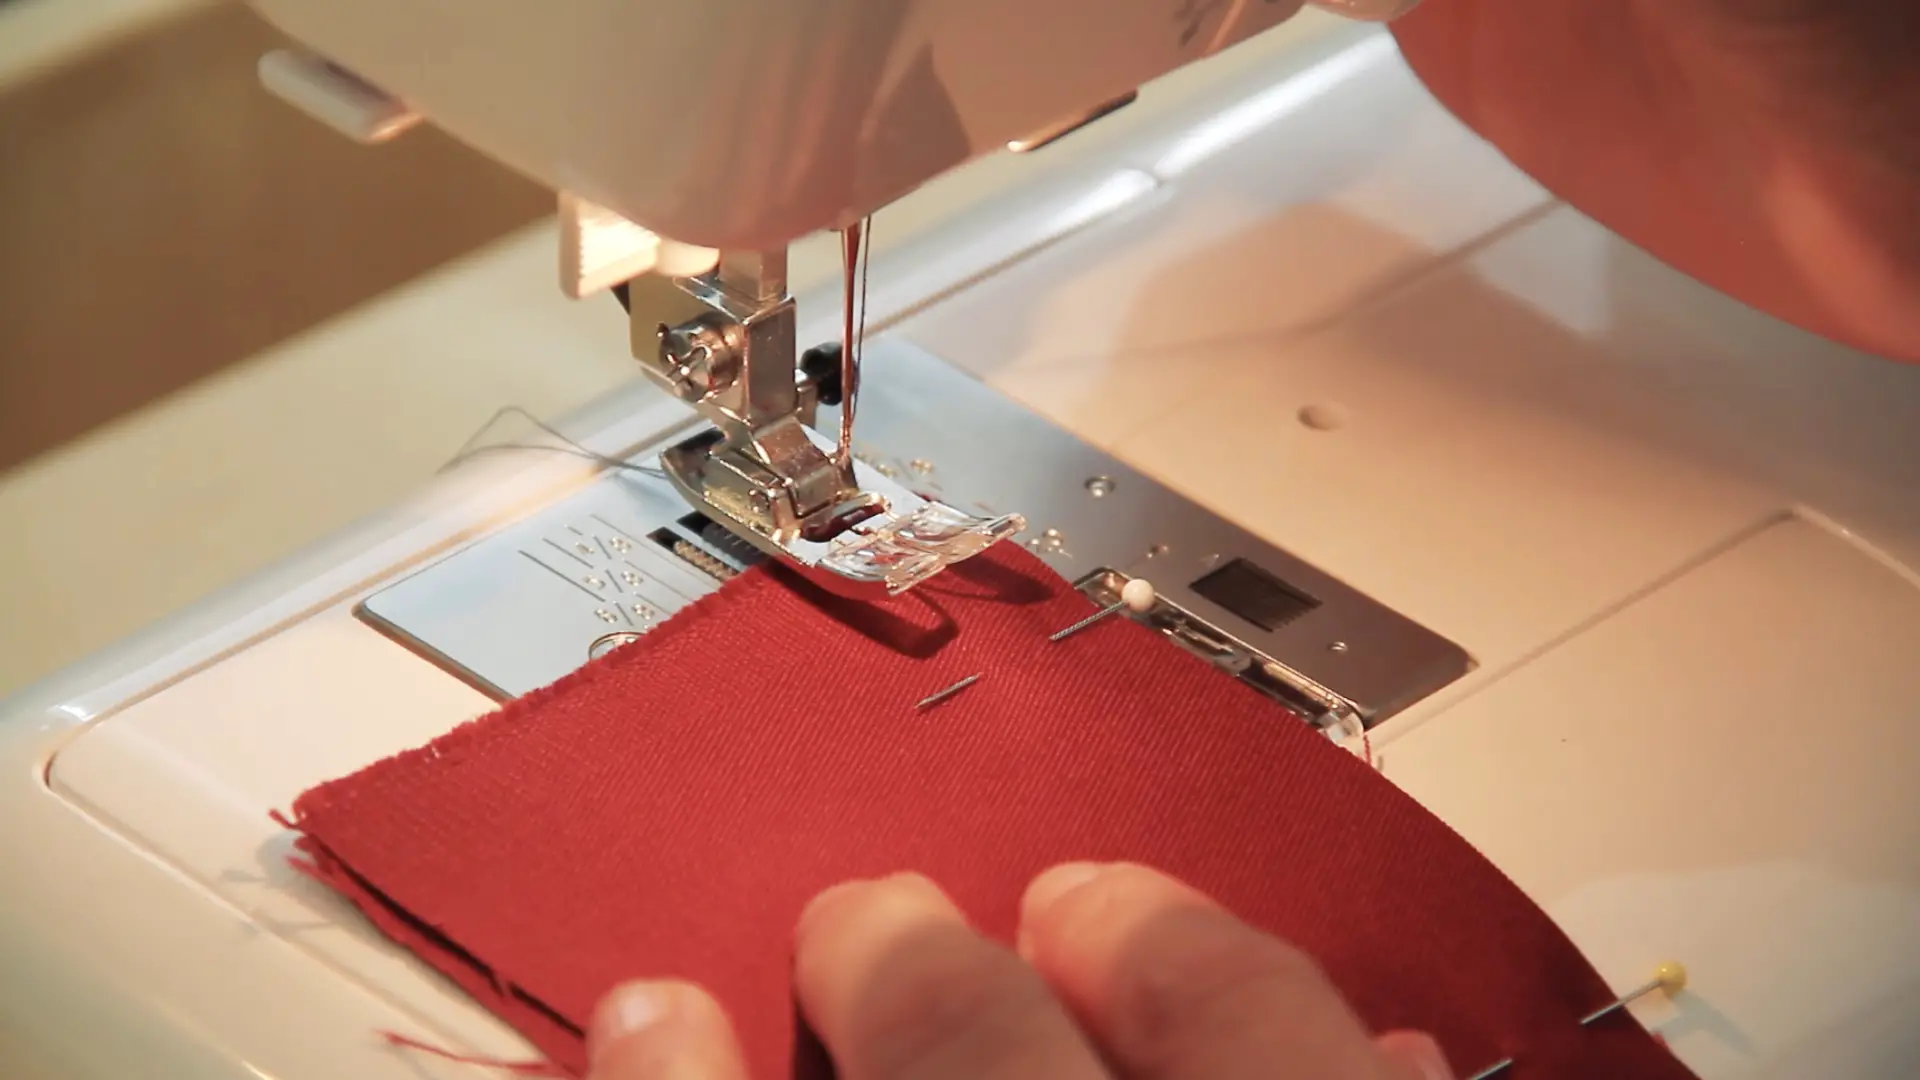
Ending A Row Of Machine Stitching
Things You Will Need
- Thread.
- Your project.
- A sewing machine.
- Snips or scissors (optional if your sewing machine has a thread cutter).
3 Ways to Tie off a Machine Stitching
Method 1: Using The Auto-Finish Function
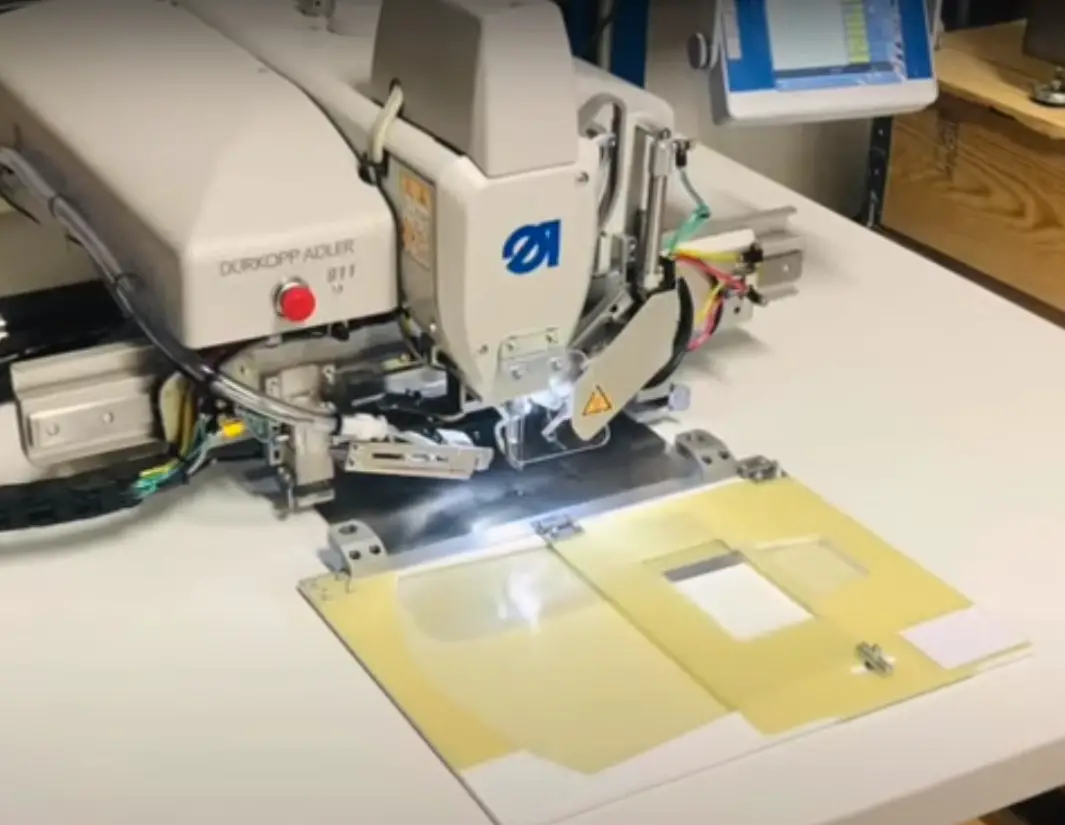
Many sewing machines feature a lockstitch button that makes a lockstitch automatically. It is unnecessary to sew, reverse manually, and sew again.
Some fancier machines, like in the following video, will enable users to program lockstitches into sequences of stitches.
Method 2: Tying Off By Hand
If you want to tie off a row of machine stitches by hand, follow method 2 in “Ending A Row Of Hand Stitching,” which we cover below.
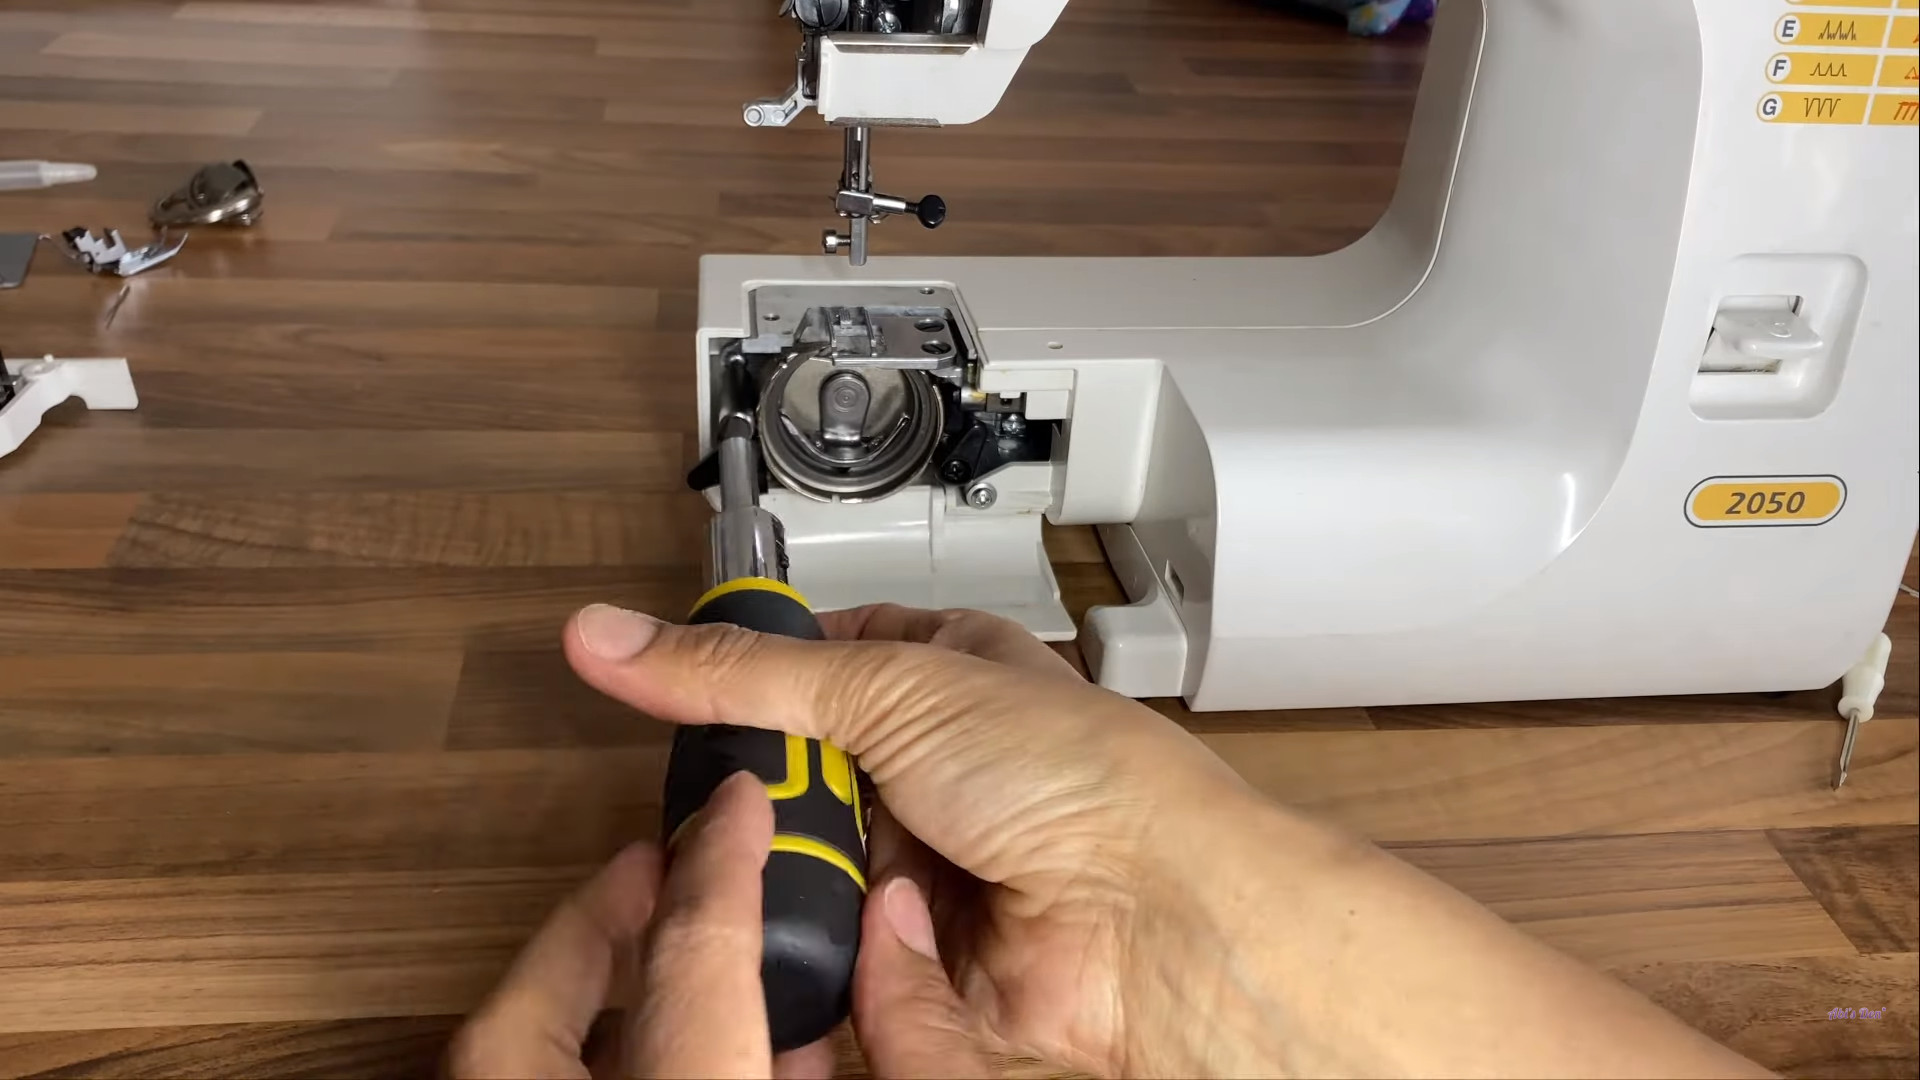
Method 3: Make A Lockstitch
A lockstitch will allow you to secure a row of stitches with your sewing machine effortlessly. Here is how to do it:
- Step 1: Sew three stitches or five forward, then stop.
- Step 2: Reverse over these stitches and stop.
- Step 3: Sew back over these stitches again.
- Step 4: Now is the time to snip the threads with confidence.
Tie A Row Of Hand Stitching
Things You Will Need
- Your project.
- Thread.
- Snips and scissors (optional if your machine features a thread cutter)
Related: How long does it take to sew a dress?
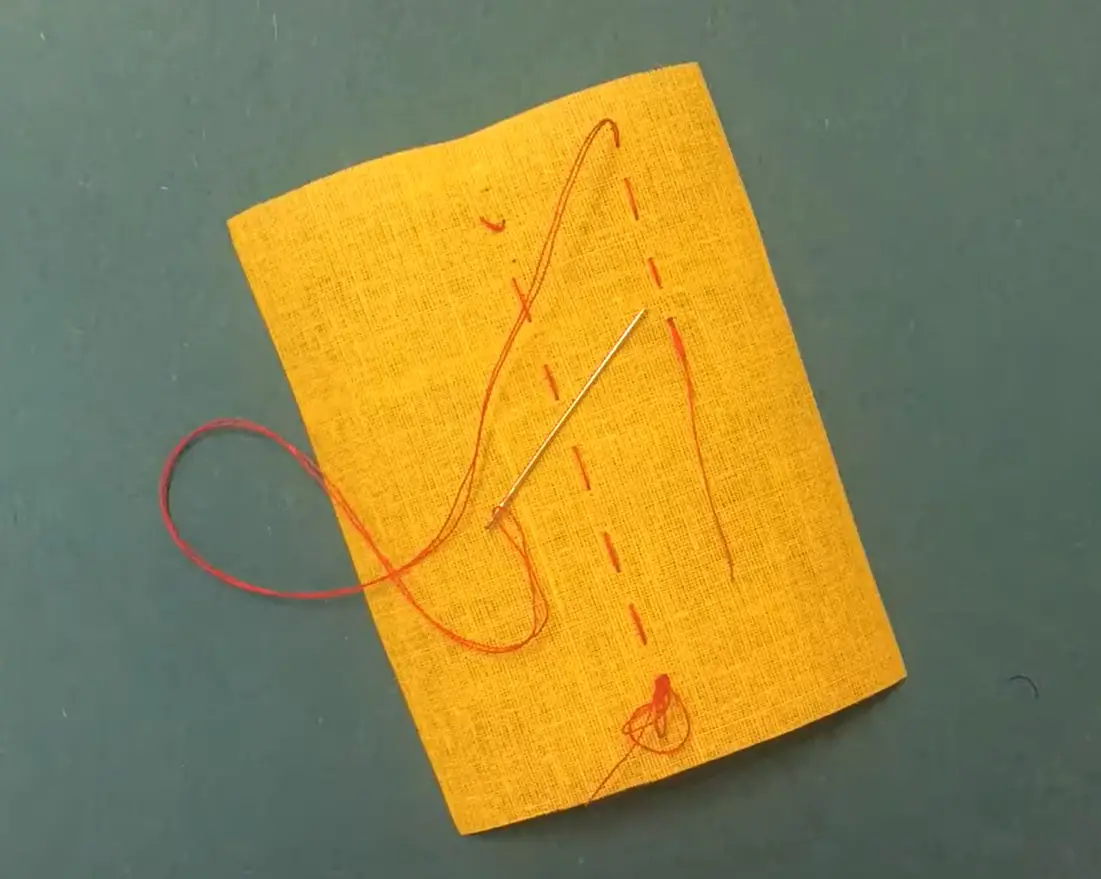
How to Tie off a Stitch By Hand
Tie Off A Double Thread
- Method One
Many people are taught to always utilize a double thread for hand sewing. It will make the stitches stronger and more effortless to tie off once you finish.
There are some ways to tie off a double thread, and here is the first one.
Step 1.
Make the last stitch in the row, and ensure you leave a few inches of thread at the end to make your knot.
Step 2
Separate the two threads by bringing one of the threads over the other, then under. After that, pull enough to bring the threats to the fabric’s edge.
Avoid pulling too tightly. Otherwise, you’ll pucker the stitches. It is the first part of the first knot. Then repeat step 2, pulling your knot tight.
Step 3 (Optional)
Many prefer to make one knot or more after this.
Step 4
Cut off the thread end.
- Method Two
Step 1
Stitch tills the end of the row, leaving several inches at the end. Then bring your needle around to create a loop, which should be large enough to insert your finger.
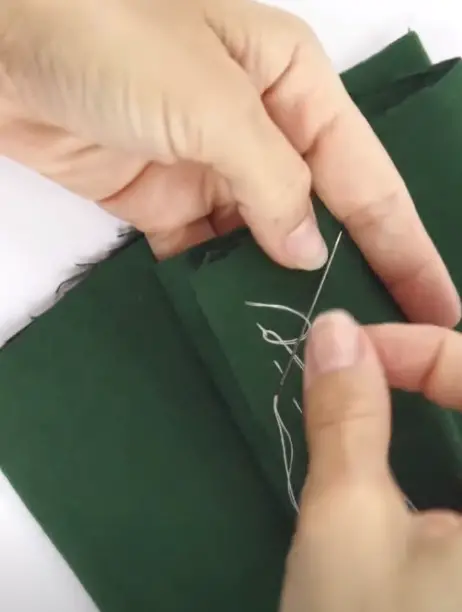
Step 2
Use your finger to hold the loop to the fabric and double back with your needle. Bring your needle via the loop, then pull (avoid pulling firmly). Keep the knot snug against the fabric using your finger.
Step 3
Repeat the knot if needed (optional). Afterward, snip off the thread end.
Related: Singer M1000 Sewing Machine
- Method Three: Back Stitch
Step 1
Sew the final stitch in the row, leaving several inches of additional thread at the end. Bring the needle back underneath the final stitch, then form a loop.
Step 2
Pass the needle via the loop, then pull gently till the knot settles onto your fabric. Secure the row by repeating steps two and three to form a second knot.
Step 3
Cut off the thread ends.
- Method Four: End-Off Backstitch
Step 1
Finish the stitching, and remember to leave a few inches of additional thread at the end. After that, bring the needle around and insert it back into your fabric just after the end of the last completed stitch.
Step 2
Bring your needle back up via your fabric, close to where you just brought it up at the end of the stitches. So now, a loop has been formed. You need to pull your thread gently till it sits against the fabric.
Related: Embroidery Thread Vs Sewing Thread
Step 3
Repeat steps 1 and 2 twice more. But don’t pull the last loop tight. Eventually, bring the needle through the final loop, then pull it tight. After that, snip the thread ends.
- Method Five: Finishing Stitch
Step 1
Finish the row of stitches, and remember to leave a few inches at the end.
Step 2
Navigate the needle down through the fabric near the end of the final stitch. Do not pull it tight, and remember to leave a loop.
Step 3
Bring the needle back up, very close to where you have brought it down. Then insert the needle via the loop, then pull it down to your fabric.
Step 4
Bring the needle via the loop again and pull it one last time. Then snip off the thread end.
A Single Thread
Sometimes, you want to utilize a single thread rather than a double one. It is okay to tie off the single thread stitching utilizing the backstitch, end-off backstitch, or finishing stitch methods above. You can try the following steps:
Step 1
Finish the row of stitches. Remember to leave a little distance of thread at the end to make a knot.
Step 2
Bring the needle back to the last stitch as you would for a backstitch and end-off backstitch.
Step 3
Insert your needle behind the last stitch and pull to make a loop. Then run the needle via the loop. After that, do it again.
Step 4
Pull the knot tight, then snip the thread ends.
Some Pro Tie-Off Techniques
Here are some specialized tie-off techniques for tough cases.
How To Hide The Knot Between Layers
For many hand-sewing tasks, you can leave the starting or finishing knots on the wrong side of the project.
But several projects, such as quilts, do not have the wrong side. Hand quilting will take much effort, and you do not want to waste your effort by putting unattractive knots on the surface.
No need to worry! Here is how to hide your finishing knot between your fabric layers.
- Step 1
As normal, leave five to five inches of thread after your final stitch in the row. Then loop the needle around to the end point of your previous stitch, as if making a backstitch.
- Step 2
Now is the time to bring the needle via the loop and pull it gently but snugly. Loop the needle again, going in the opposite direction, from the end of the stitch to the beginning.
- Step 3
Bring the needle via the loop, then pull it snugly. Then, insert the needle via the middle of your stitch, bring it underneath the top layer of the fabric, and gently pull it.
- Step 4
Eventually, snip off the thread end, smooth the fabric, and ensure hiding the attached thread end beneath the top fabric layer.
Another Method To Hide Your Knot
Here is another method to help you hide your end knot.
- Step 1
Complete the row of stitches. Remember to leave a few inches of additional thread. Then wrap the thread about three to five times around your needle.
- Step 2
While holding your knot, you need to reinsert your needle back into your fabric near where it came out, then tightly pull it. It might take practice to form the knot, so being patient is the key.
Pull it till your knot disappears back underneath the top fabric layer.
- Step 3
Snip the thread end, then pull the fabric till the thread end disappears.
Hiding The Finish Spot In A Seam
If the stitching row finishes in a seam, it is okay to use one of the finishing methods mentioned above, then have the thread ends hidden inside the seam.
FAQs
How do you secure a stitch at the end?
You can use your hands or a machine, following the guide above.
How do you tie off stitches on a sewing machine?
Follow one of the three methods we mentioned, and you should be fine.
How do you secure the beginning of a stitch?
Watch the following video for a better look.
The Bottom Line
No matter your project, ending the stitches and securing the ends is an essential final step. We have rolled out everything we know about tying off a stitch through the article above. Hopefully, they are helpful to you.
Thank you for your interest in the article!