Blog
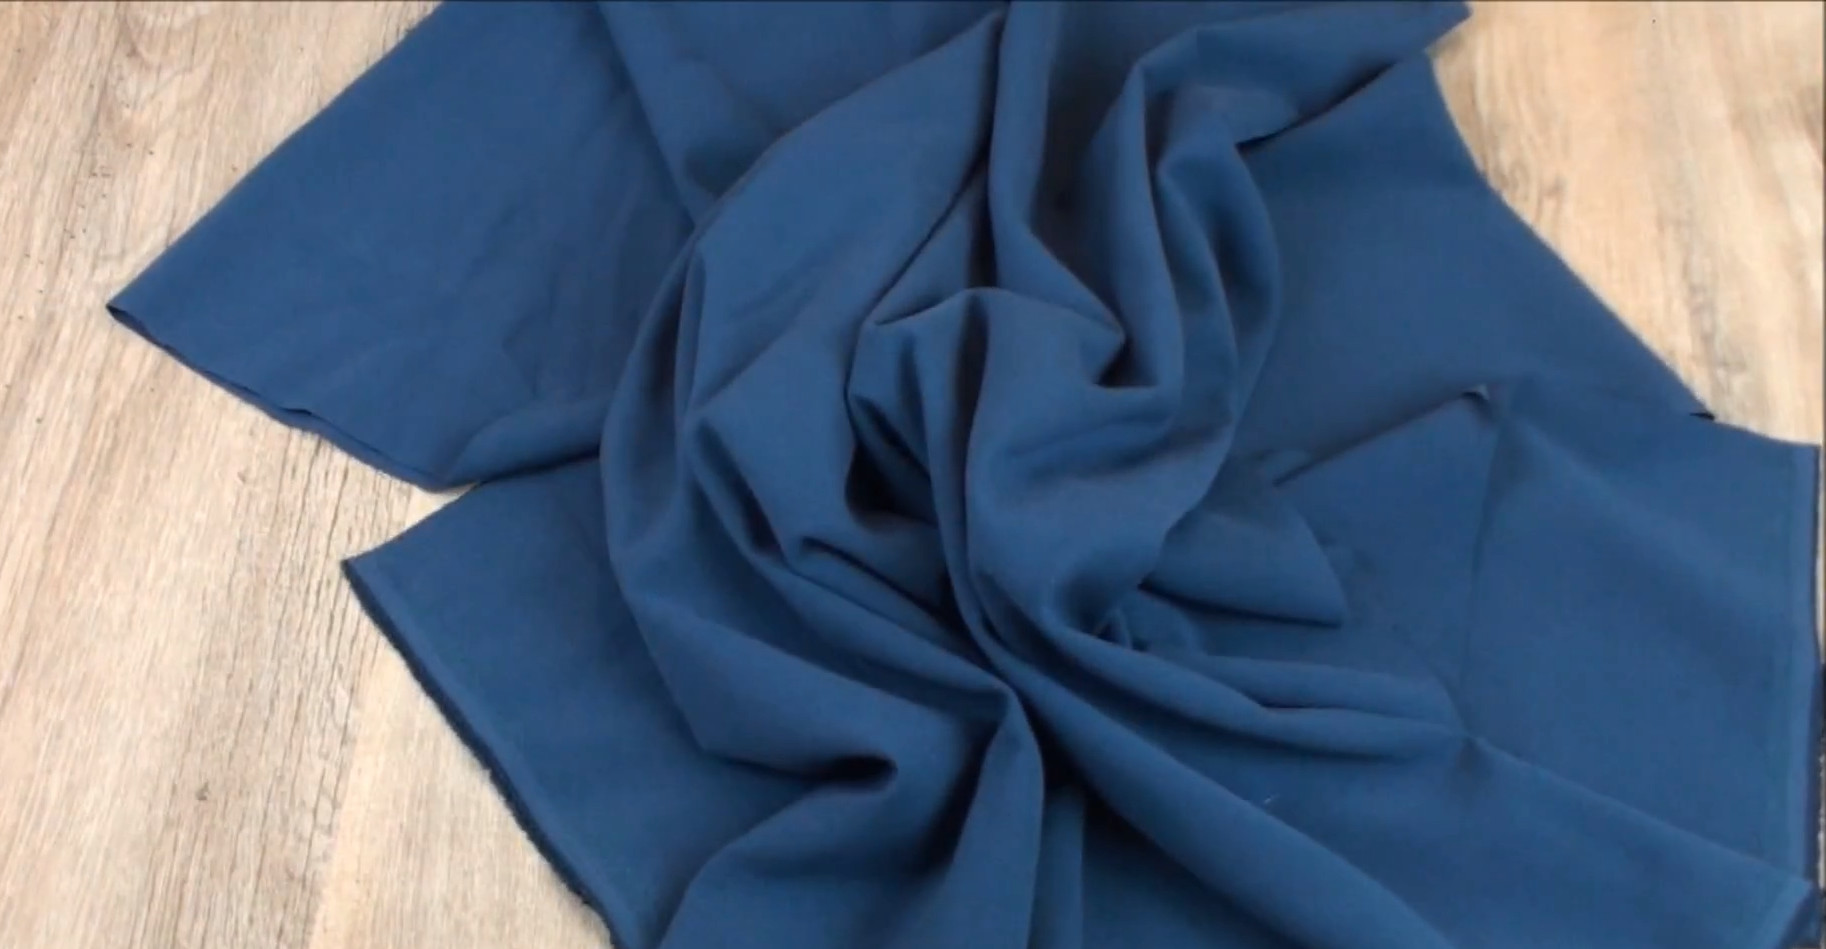
Rayon fabric has become a popular clothing material due to its high durability and beneficial impacts on the environment. This material possesses many ...
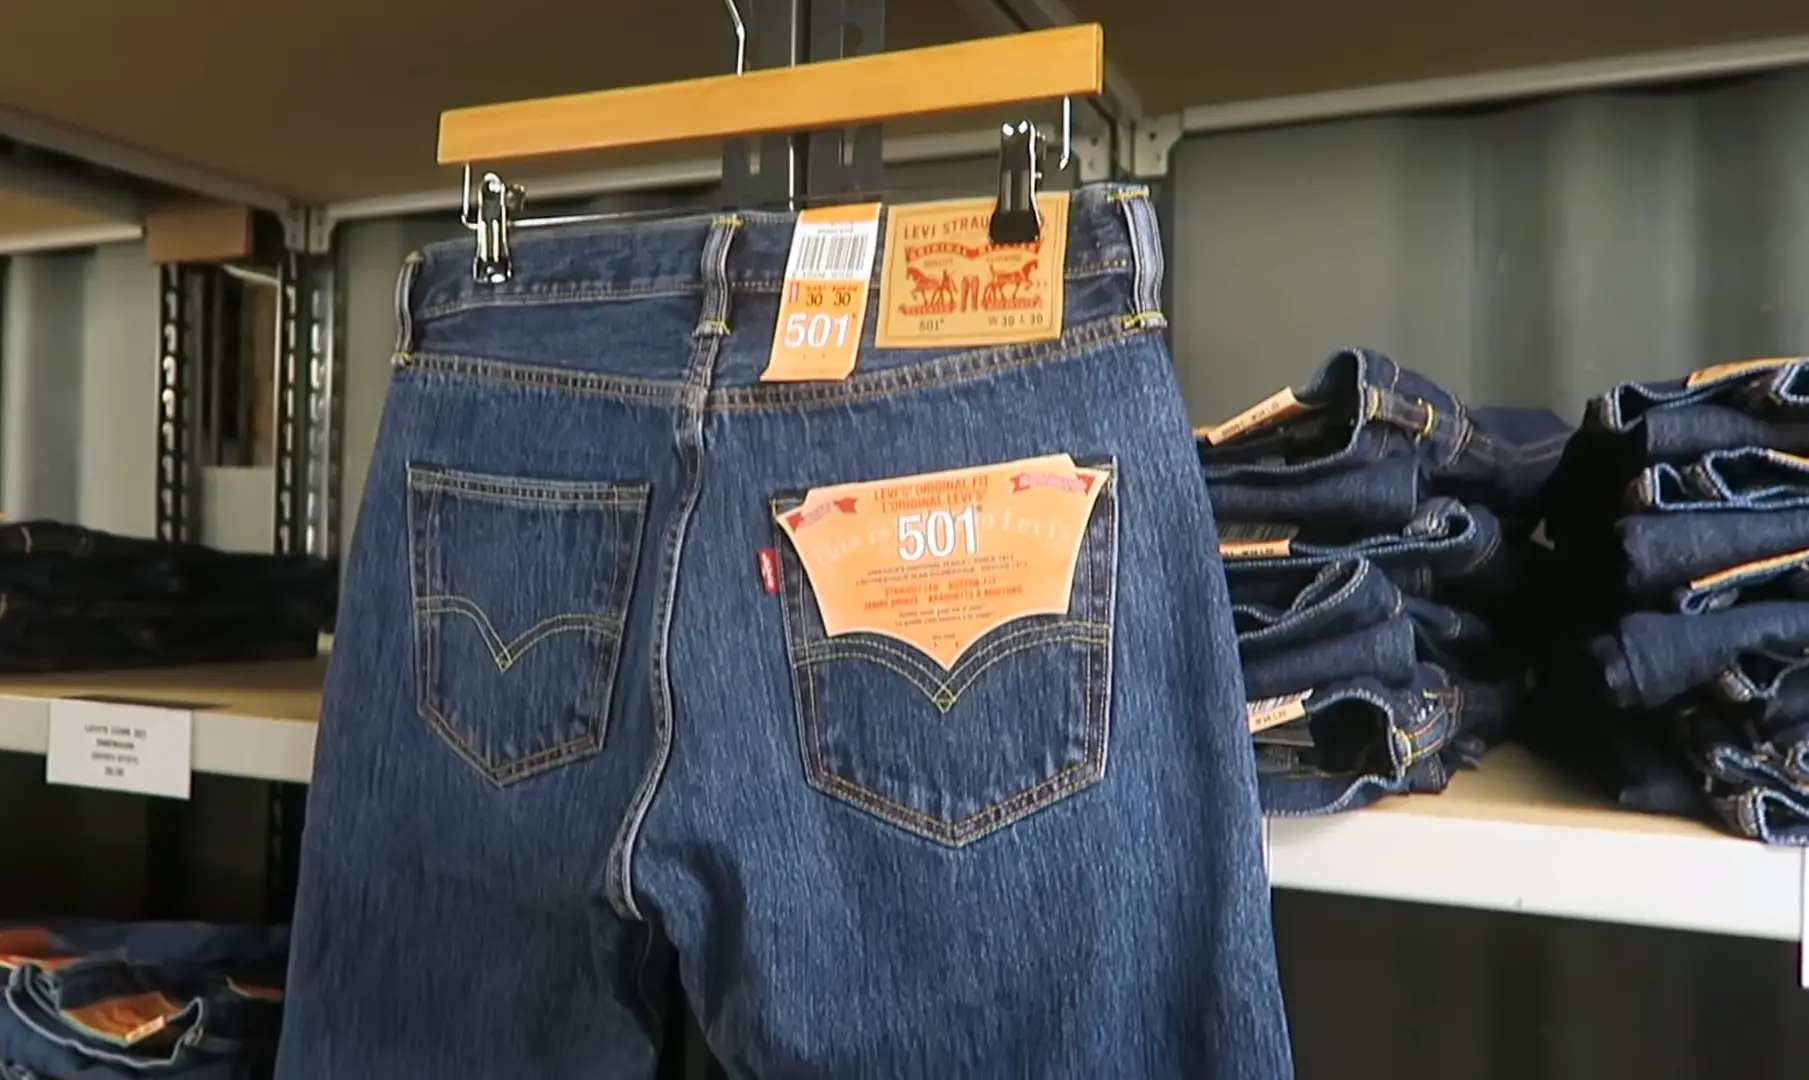
Most newly purchased jeans come with a tag that indicates their weight. The fact is that the weight mentioned in this tag is usually lighter than the actual ...